


Proper preparation is key to achieving flawless results with solvent-based auto paint. This includes a meticulous cleaning process using car shampoo and degreaser, followed by a thorough inspection for damages like scratches, dents, or rust spots. Repairs and filling of imperfections ensure a smooth base, and gentle sanding creates a fine finish for optimal paint adhesion.
“Mastering the art of applying solvent-based auto paint can transform your automotive projects. This comprehensive guide offers a step-by-step approach to achieving flawless results. From preparing your car’s surface, including cleaning, sanding, and priming, to choosing the right tools and mastering application techniques, we cover it all. Additionally, learn about curing and final touches to ensure longevity. Discover the secrets to achieving professional-grade finishes with solvent-based auto paint.”
- Preparing Your Surface for Solvent-Based Auto Paint
- – Cleaning and degreasing the car body
- – Sanding and patching imperfections
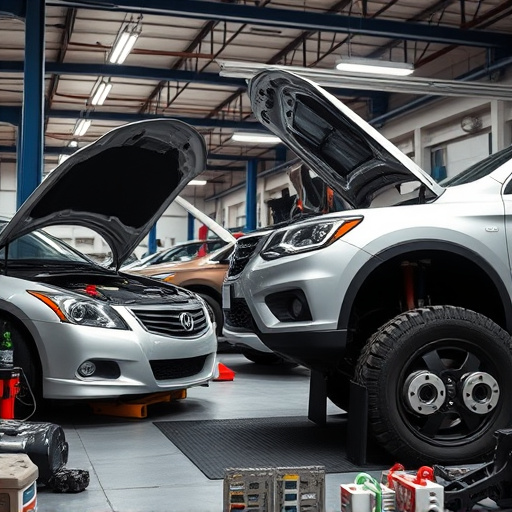
Preparing Your Surface for Solvent-Based Auto Paint
Before applying solvent-based auto paint, ensuring your car’s surface is properly prepared is paramount. Start by thoroughly cleaning the car to remove any dirt, grease, or debris using a suitable detergent and microfiber cloths. This initial step is crucial as contaminants can hinder paint adhesion.
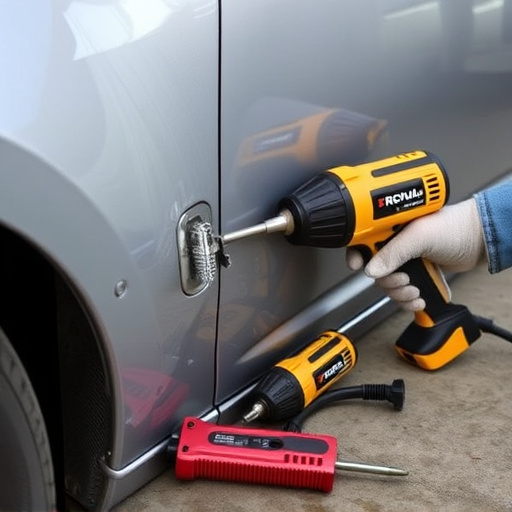
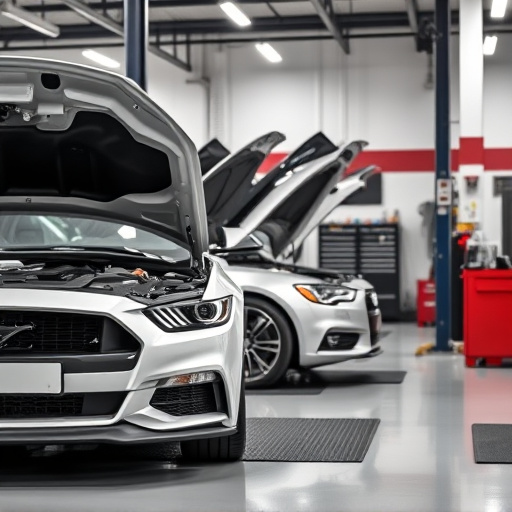
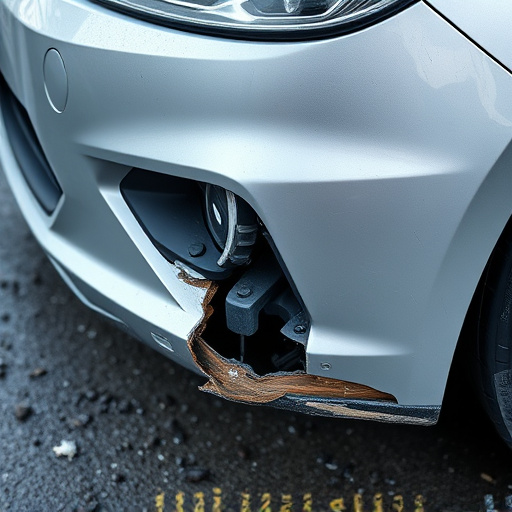
Next, inspect the car’s bodywork for any damages like scratches, dents, or rust spots. Repairing these issues with auto body repairs and filling any gaps or imperfections will create a smooth base for painting. Sanding the surface gently to achieve a fine finish allows the solvent-based paint to bond seamlessly. Remember, proper preparation in an auto body shop is key to achieving flawless results when applying this type of paint.
– Cleaning and degreasing the car body

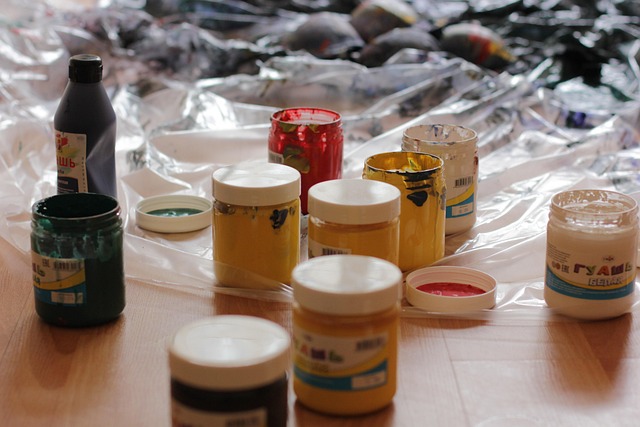
Before applying solvent-based auto paint, ensuring your car’s body is clean and free from grease or grime is paramount. Start by thoroughly washing the vehicle using a dedicated car shampoo and soft cloth to remove any surface dirt and contaminants. This initial step in the car body restoration process creates a clean canvas for the next phase.
Once washed, degreasing becomes crucial, especially if there’s existing hail damage repair or stains from a previous mishap. Use a quality degreaser suitable for automotive applications to eliminate any residual oil, grease, or industrial residue. Pay special attention to hard-to-reach areas and corners where grime tends to accumulate. Proper cleaning and degreasing are vital to achieving flawless results when applying solvent-based paint in a vehicle body shop.
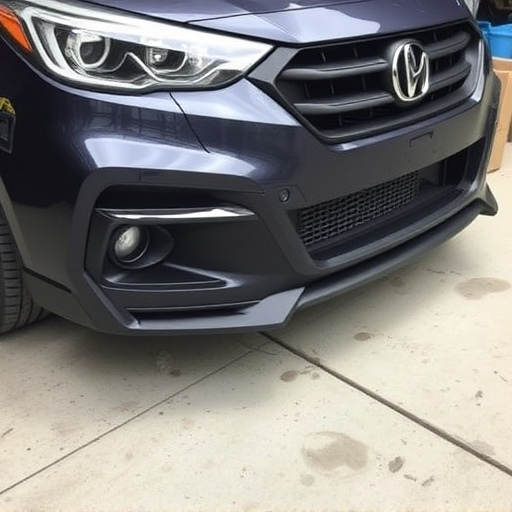
– Sanding and patching imperfections
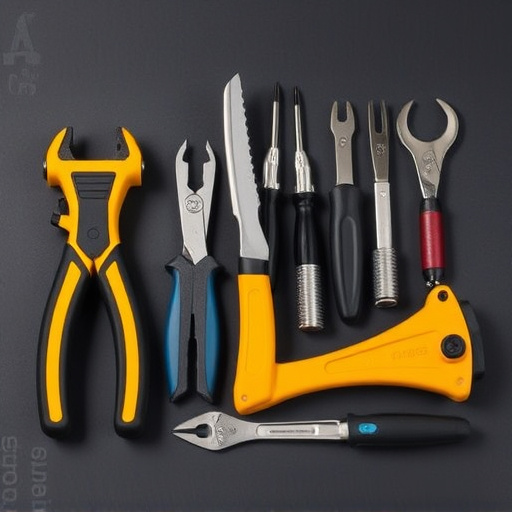
Before applying solvent-based auto paint, it’s crucial to prepare your surface meticulously. Sanding and patching imperfections is a vital step in achieving a flawless finish. Start by gently sanding the affected areas with fine-grit sandpaper to ensure a smooth base. Fill in any gaps or dents using automotive body shop-grade putty, allowing it to dry completely. This process creates an even canvas for your paint job, ensuring that no imperfections disrupt the final look.
For areas with more significant damage like hail damage repair, consider using a specialized patching kit designed for auto maintenance. These kits often include everything needed to restore the panel to its original condition. Once patched, lightly sand again to create a slight texture that aids in paint adhesion, ensuring your solvent-based auto paint adheres securely and creates a durable, long-lasting finish.
Applying solvent-based auto paint flawless requires preparation, precision, and patience. By thoroughly cleaning and degreasing your car’s surface before sanding and patching any imperfections, you lay the groundwork for a professional finish that will enhance your vehicle’s allure. Remember, using the right techniques and high-quality products is key to achieving stunning results with solvent-based auto paint.