

Flawless solvent-based auto paint finishes demand meticulous preparation: thorough cleaning, repairing body imperfections, priming for superior adhesion. Choosing right solvents based on viscosity and drying times ensures optimal paint flow and curing. Mastering application techniques with even pressure and steady hand creates seamless blends, crucial for classic car restoration. Practice on less visible areas to perfect your technique.
“Achieve flawless results with solvent-based auto paint by mastering these 10 essential tips. From preparing your surface to choosing the right solvent and mastering application technique, this guide covers everything you need to know for a smooth, professional finish. Whether you’re a seasoned painter or just starting, these strategies will ensure optimal results every time, transforming your car’s appearance with ease.”
- Prepare Your Surface: Key Steps Before Application
- Choosing the Right Solvent for Optimal Results
- Mastering Technique: Smooth, Flawless Paint Job
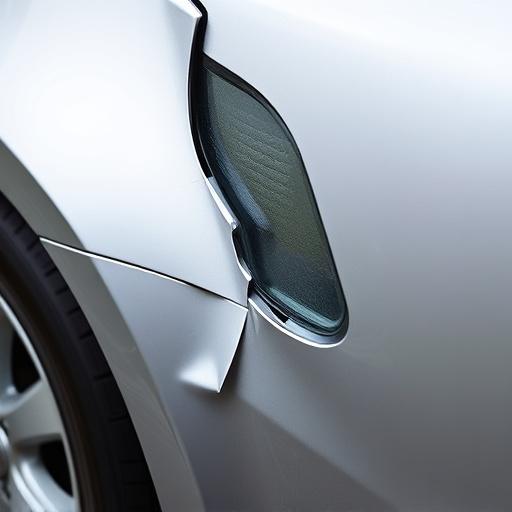
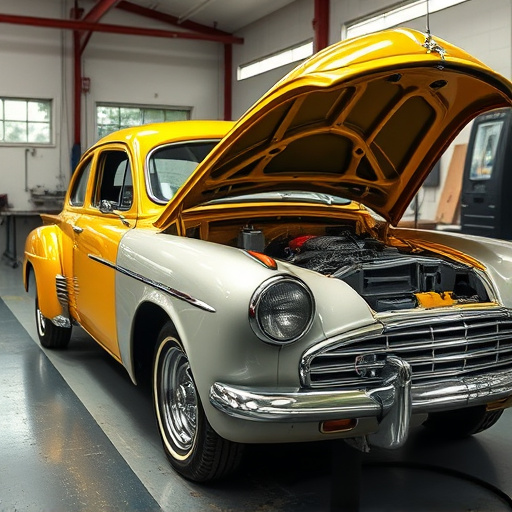
Prepare Your Surface: Key Steps Before Application

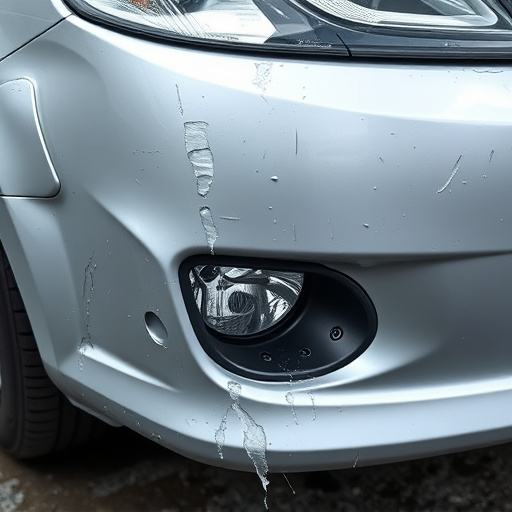
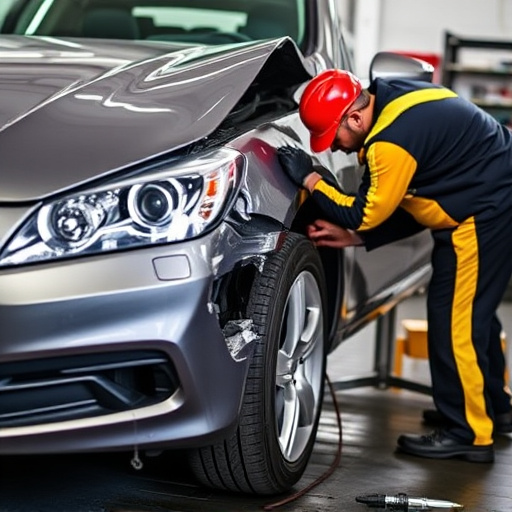
Before applying solvent-based auto paint, ensuring your vehicle’s surface is properly prepared is paramount to achieving a flawless finish. Start by thoroughly cleaning the car using dedicated automotive cleaners and microfiber cloths. Remove all dirt, grease, and grime from the surface, as these contaminants can hinder adhesion and create an uneven paint job.
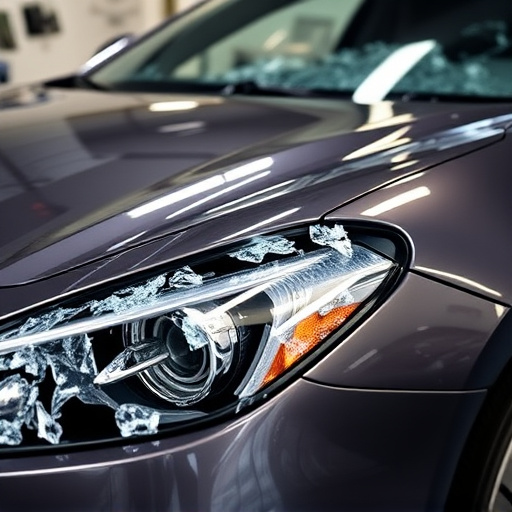
Next, inspect the vehicle body repair areas for any cracks, holes, or imperfections. Fill in these defects with high-quality filler and sand down until smooth to create a seamless base. Priming is another crucial step; apply a coat of primer designed for solvent-based paints to seal the surface and ensure better paint adhesion. This process will also help to block out existing colors, allowing your new paint job to stand out clearly.
Choosing the Right Solvent for Optimal Results

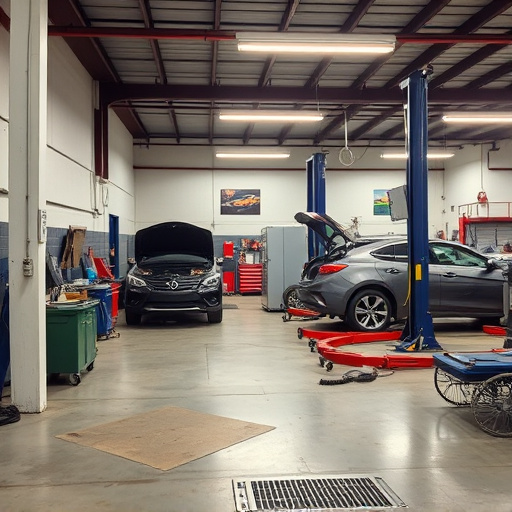
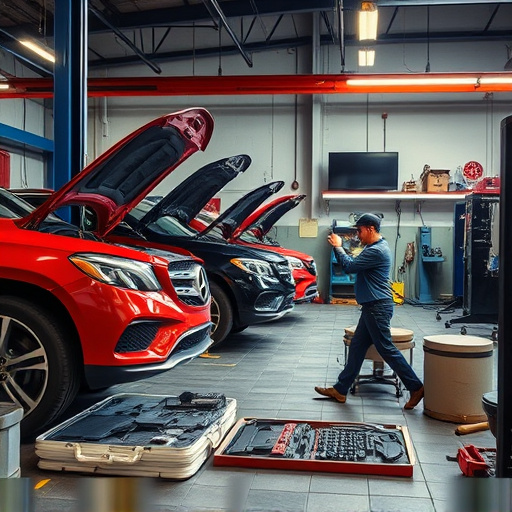
When it comes to achieving a flawless finish with solvent-based auto paint, selecting the appropriate solvent is key. Different solvents offer varying levels of solvency and drying times, each suited for specific painting needs. For example, high-viscosity solvents provide slower evaporation but excel at dissolving tough paints, ideal for intricate car restoration projects. In contrast, lower viscosity options dry faster, making them suitable for touch-ups or quick collision repair center work.
Choosing the right solvent ensures optimal adherence and flow of paint during application. It also significantly impacts the final curing time, determining when your car repair services can be safely buffed and polished. Therefore, understanding your project scope and desired outcome is essential before selecting a solvent for that perfect, long-lasting auto paint job.
Mastering Technique: Smooth, Flawless Paint Job

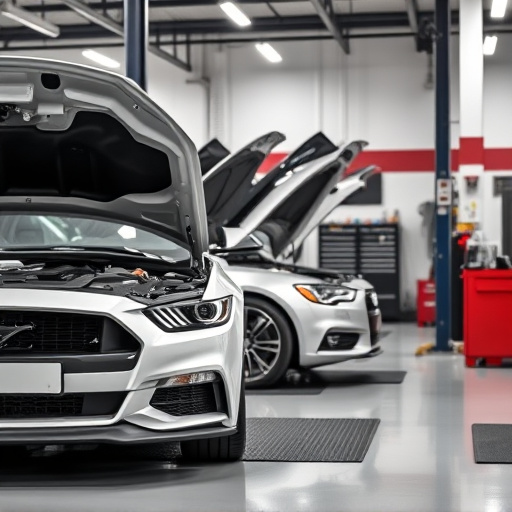
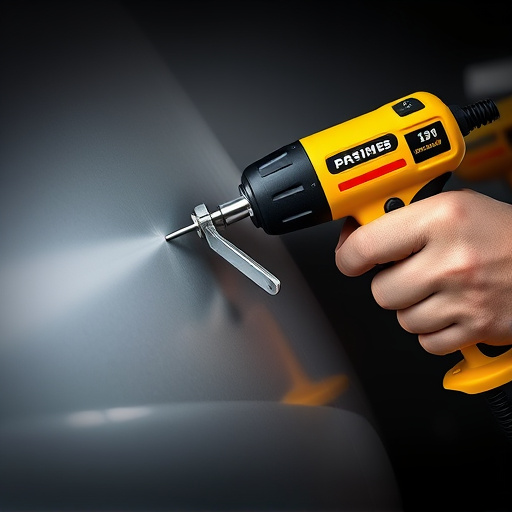
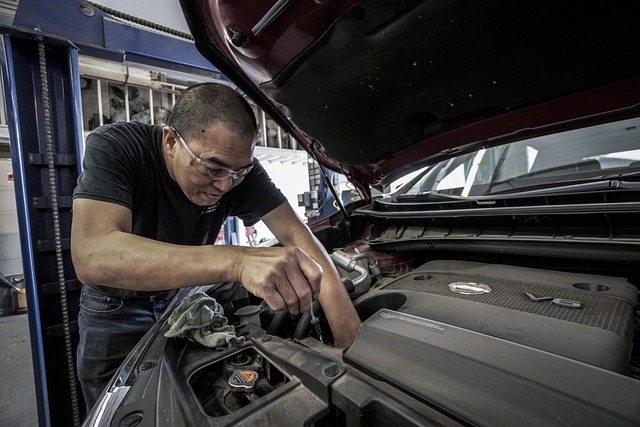
Achieving a smooth, flawless paint job with solvent-based auto paint is an art that every car enthusiast or automotive body shop professional should master. The key lies in understanding the technique and preparing the surface correctly. It’s not just about applying the paint; it’s about creating a seamless blend that mimics the original finish, especially when tackling classic car restoration projects.
The process involves careful preparation, including sanding, priming, and using the right tools for application. A steady hand and even pressure are essential to ensure the paint flows smoothly over curves and contours. For best results in your car repair shop or classic car restoration endeavors, consider practicing on a less visible area first, allowing you to perfect your technique without compromising the final look of the vehicle.
Applying solvent-based auto paint perfectly is achievable with preparation, the right solvent, and a mastered technique. By following these 10 tips, you can ensure a flawless finish that enhances your vehicle’s appearance. Remember, attention to detail at each step—from surface prep to application—is key to achieving professional results.